
There are two main types of hyacinth bulbs. Prepared & Un-Prepared. They look exactly the same so be careful which ones you select. Also, please remember that hyacinths are a skin irritant to those of you with sensitive skin so wear gloves when handling them.
Prepared.
These bulbs have (basically speaking) been kept in cold storage since harvest. Once they come out of cold store, they are tricked into thinking that winter has finished & spring is already here. This ‘tricks’ them in to early flowering. So prepared hyacinths are traditionally grown indoors for blooming around Christmas time.
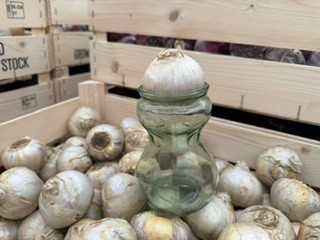
To give you the best chance of Christmas blooms, your prepared blooms should be potted into containers, ideally in bulb fibre if the pot has no drainage, or potting compost is fine if there is drainage, no later than September 15th (as legend has it). You can also use hyacinth glasses if you prefer which just use water. The water level should be maintained just below (not touching) the bulb.
In either case, the planted bulbs should now be kept cool & dark until the glass is full of root or the flower stems emerge. Then the should be re-introduced to the light & warmth gradually. Once flowering has finished either discard the bulbs or plant them in the garden to see if they bloom outdoors the following spring.
Failure to meet the September 15th deadline is not a catastrophic problem but the later that you leave it into September the less chance you have of them blooming for Christmas. If you are happy to have them blooming indoors later than the 25th of December, plant anywhere from mid-late September.
Un-Prepared.
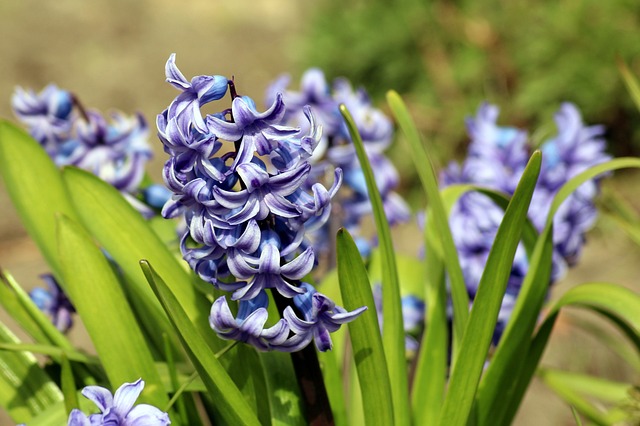
These are straight forward, un-tinkered with, hyacinths. They should be planted in the autumn for flowering during March or April the following year. They are hardy if grown in the ground but can be frost tender in containers.
In borders & beds, plant them, heads upright, 10cm(4”) deep with a gap between them of 7.5cm(3”). They perform best in well drained, moderately fertile soils, in full sun. Water well initially to bed in. They can tolerate part shade for a one-off display but will not perform great in a second season.
In containers use any peat-free multi-purpose potting compost or make your own by mixing two-parts John Innes No. 2 compost with one-part grit or perlite to improve drainage. Where achievable, plant at 10cm(4”). In the winter, wrap entire pot with bubble wrap & raise it off of the ground to increase air flow & drainage.
If you would like to enjoy the heady scent indoors in the spring, plant a selection in 9cm pots (1 per pot) with their heads just showing, & grow in a sheltered spot like a cold frame. Select them as they near blooming, to take indoors. After flowering indoors, move the containers to a sheltered spot in the garden and feed as directed below to encourage flowering next year. Alternatively, tip them out and plant them in the garden in a sunny spot.
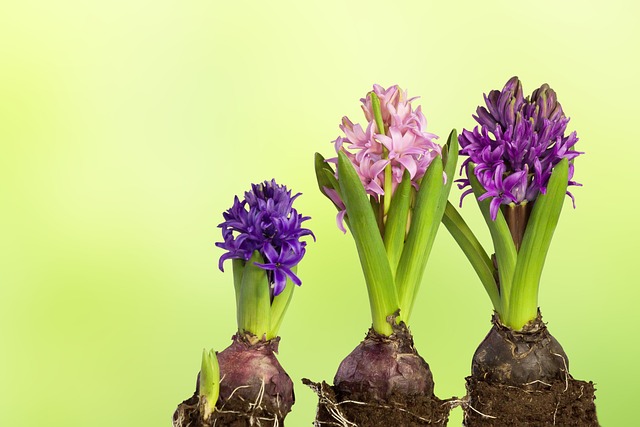
Bulb performance and flower quality usually declines in the years after planting. This is because the spectacular flowering of fresh bulbs is due to the fertile conditions under which they are grown and post-harvest treatment that induces dense spikes of large flowers. So, for the tip-top blooms, replace each year. Alternatively, the smaller blooms still make attractive displays so either just enjoy this or supplement the display with a few new bulbs each autumn to keep it looking good.
Copyright Clockhouse Nursery Ltd 2018. Registered No. 05500875. Registered office address: Springfield House, 99/101 Crossbrook Street, Waltham Cross, Hertfordshire, EN8 8JR. Web Design by CNS Media. Privacy Policy.
